
Set up a K–12 school
A visual setup sequence for classes, terms, subjects, admissions and school-office onboarding.
Use this sequence for primary and secondary schools. Choose the correct institution profile, then open Setup (/setup). The other handbook has its own setup sequence.
All screenshots below show the running application connected to a fresh demonstration database. Names and records are synthetic. The academic wizard forms illustrate configuration steps; opening a form does not save it. Select a screenshot to read it at full size.
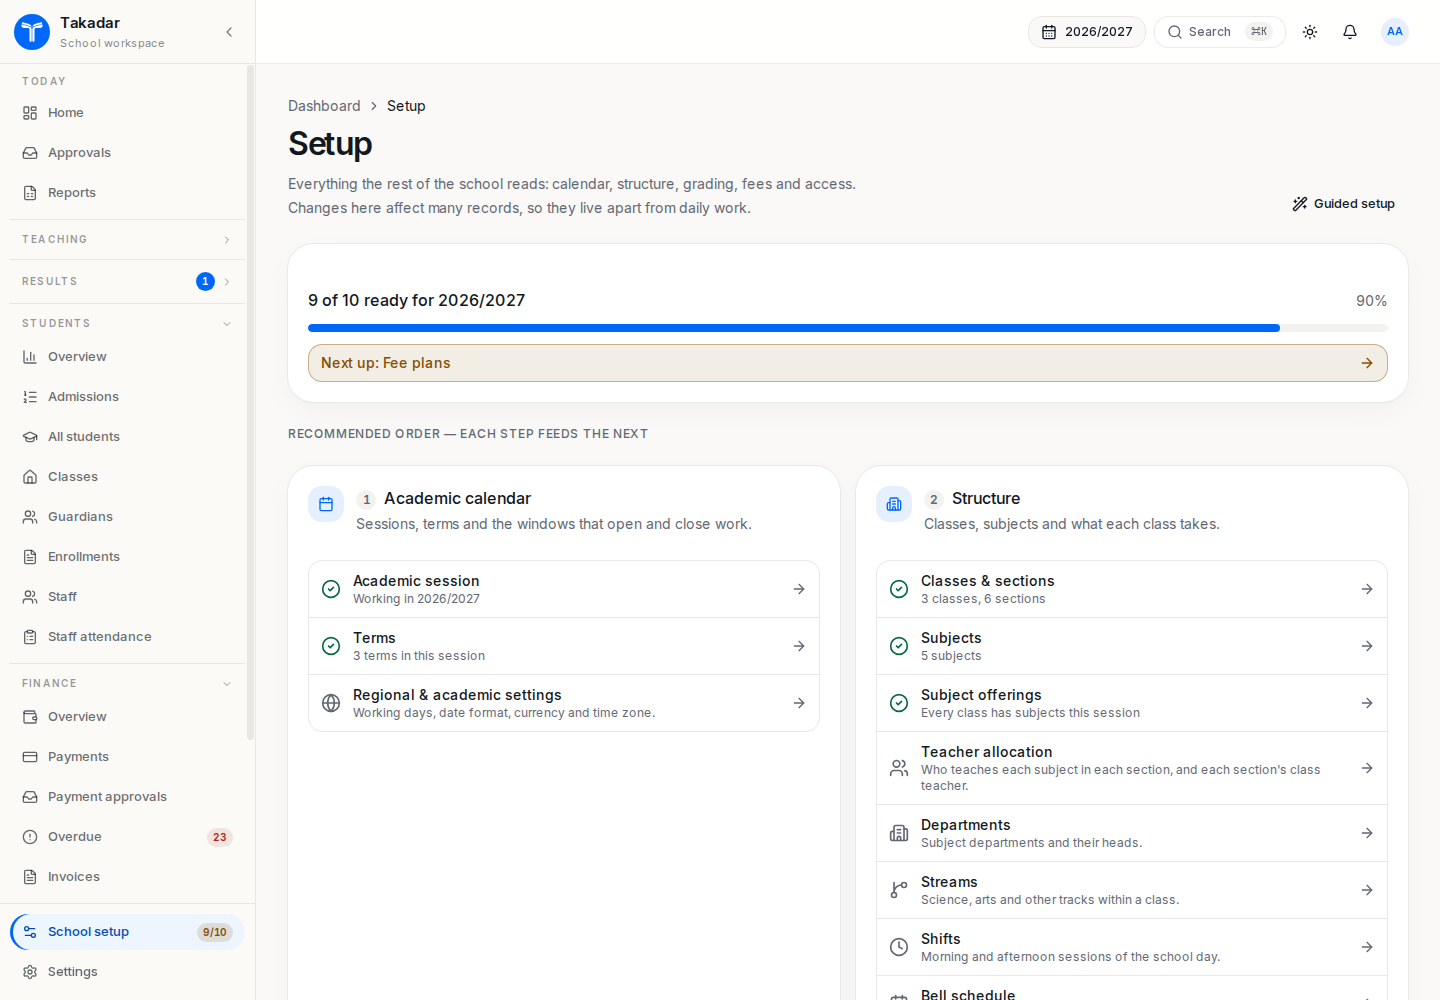
Check the working session
Start with the calendar and structure indicators. Review missing or incomplete items and the links your permissions allow. The readiness count is a configuration aid, not a complete launch acceptance test.
Create the academic calendar
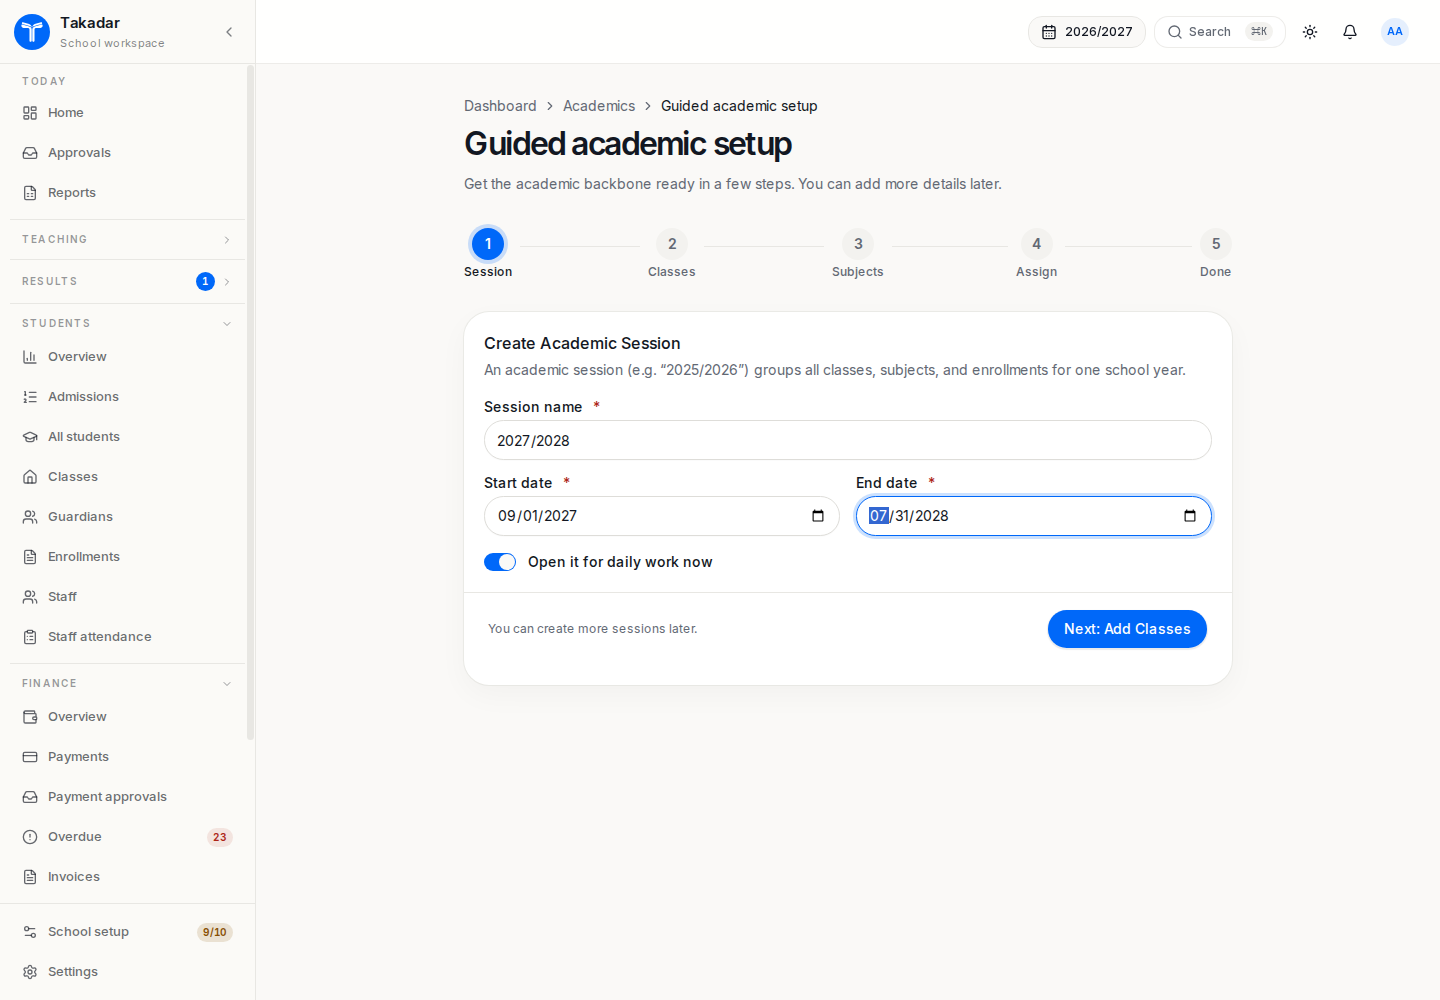
Create the academic session, its dates and school terms.
Build the institution structure
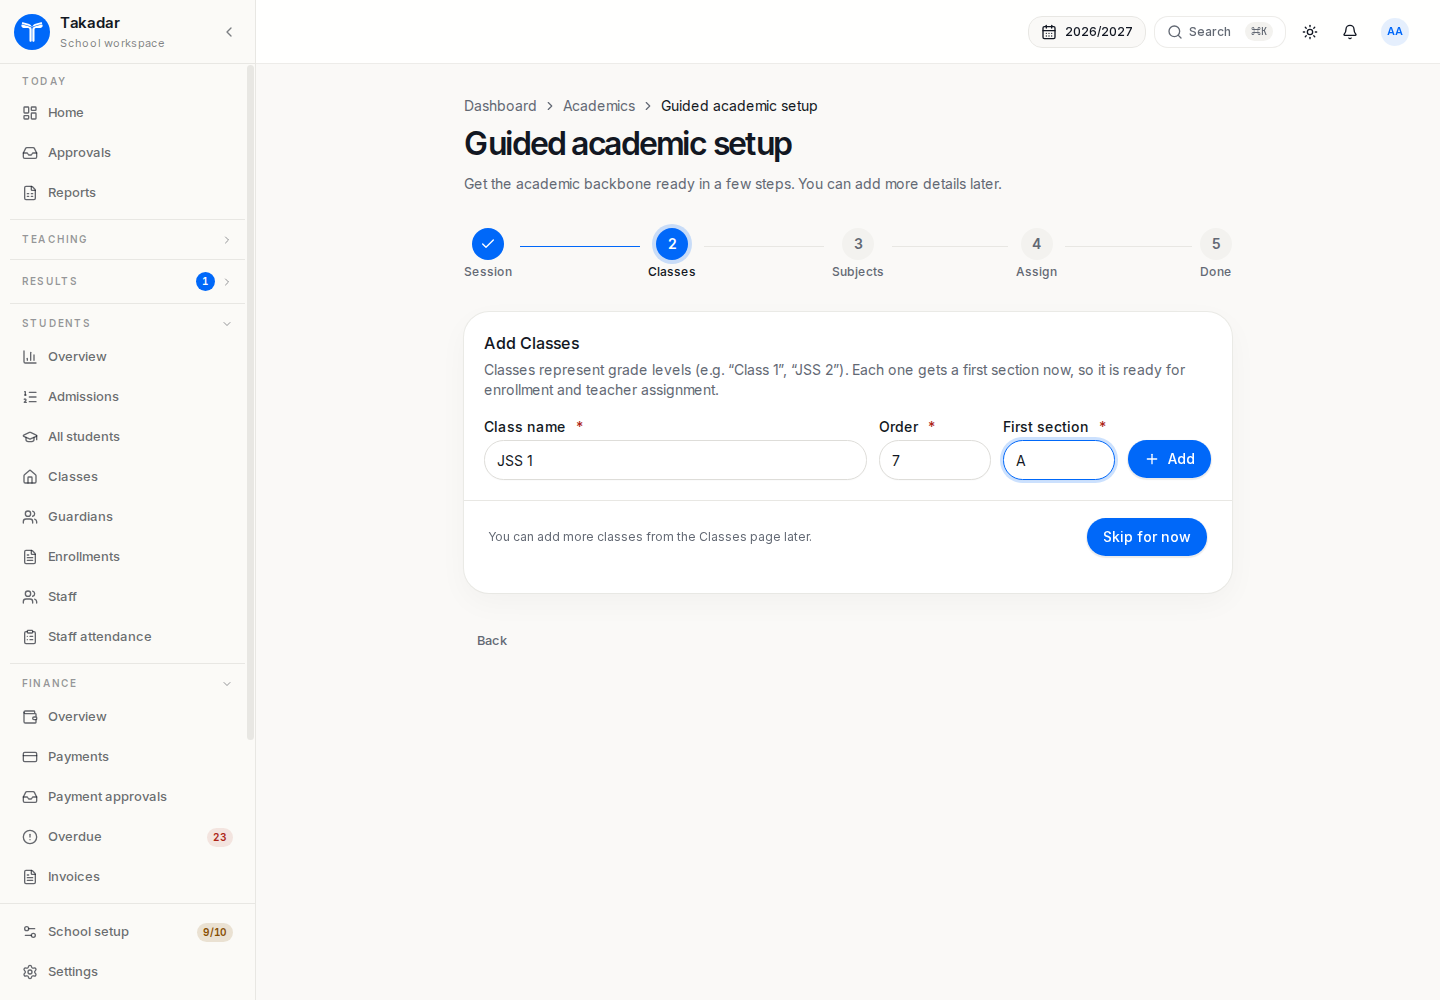
Create classes and sections, such as JSS 1 and section A. Class order supports progression; it is separate from a student’s admission number.
Define the subject catalogue
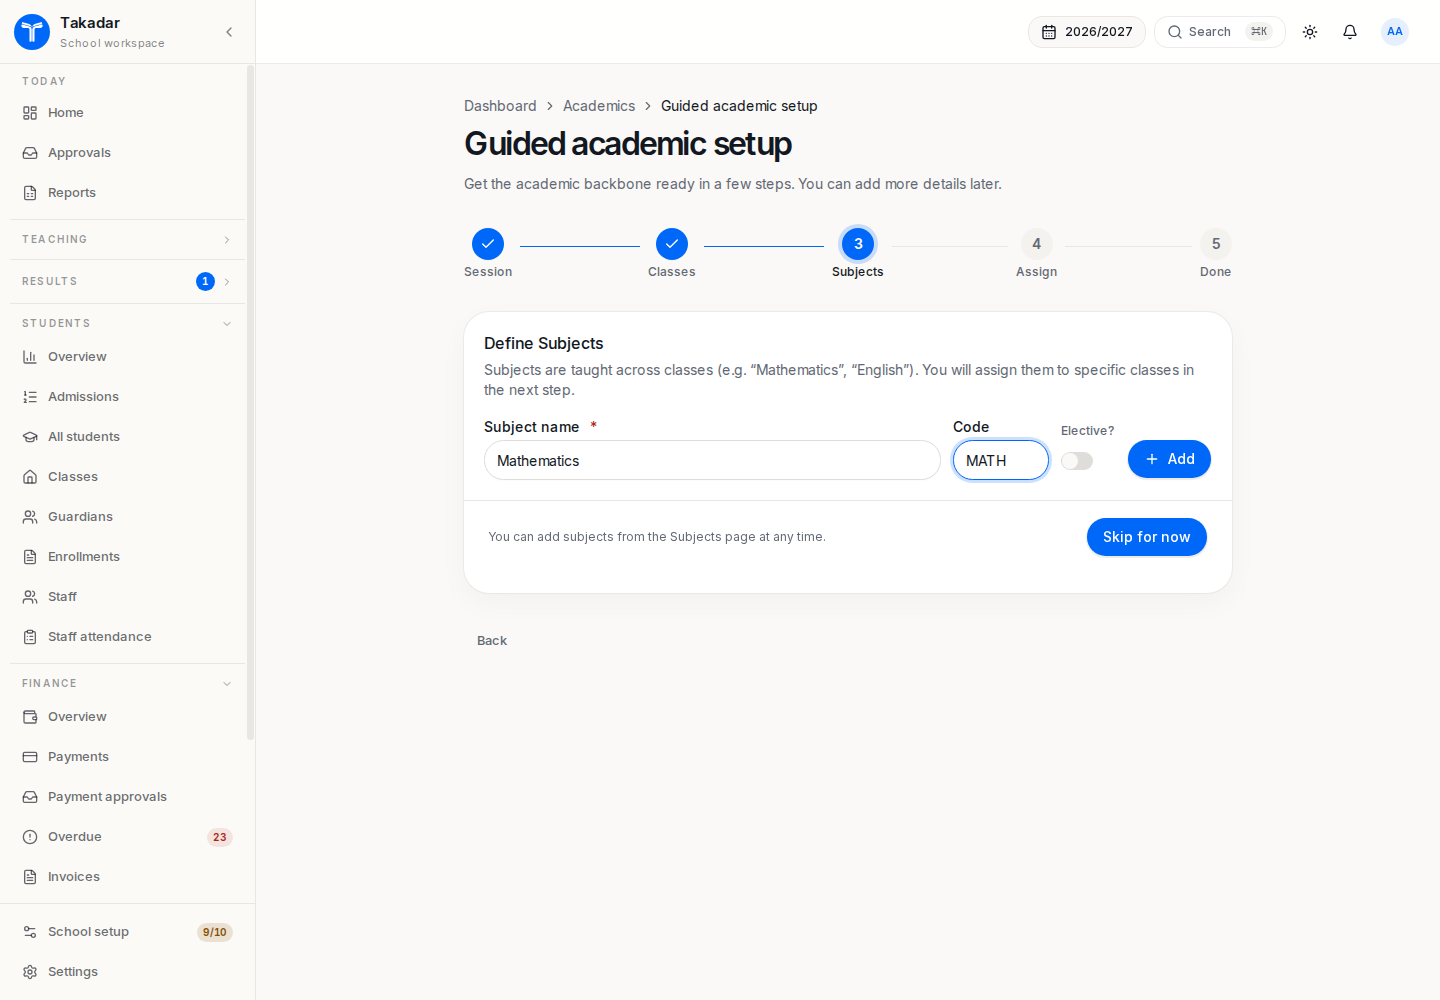
Add subjects such as Mathematics. K–12 subjects do not need higher education credit units.
Create session offerings
Connect subjects to the class in the intended session. Allocate form and subject teachers to the actual offerings.
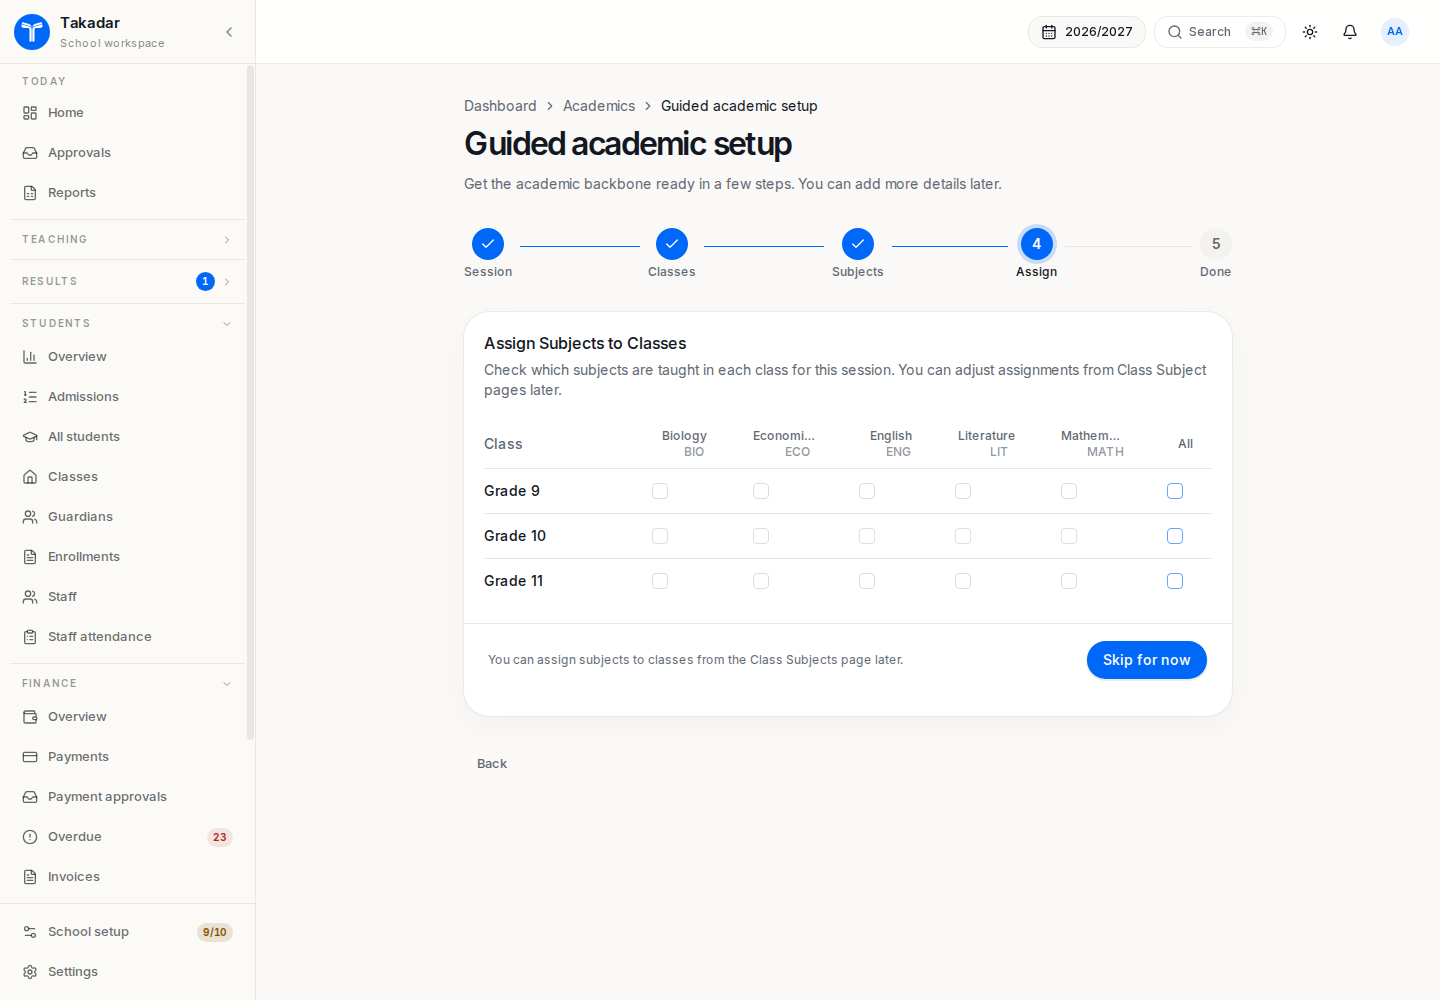
Prepare admissions
Set intake dates, session and joining term before inviting families to apply. Review and convert accepted applications into the correct class placement.
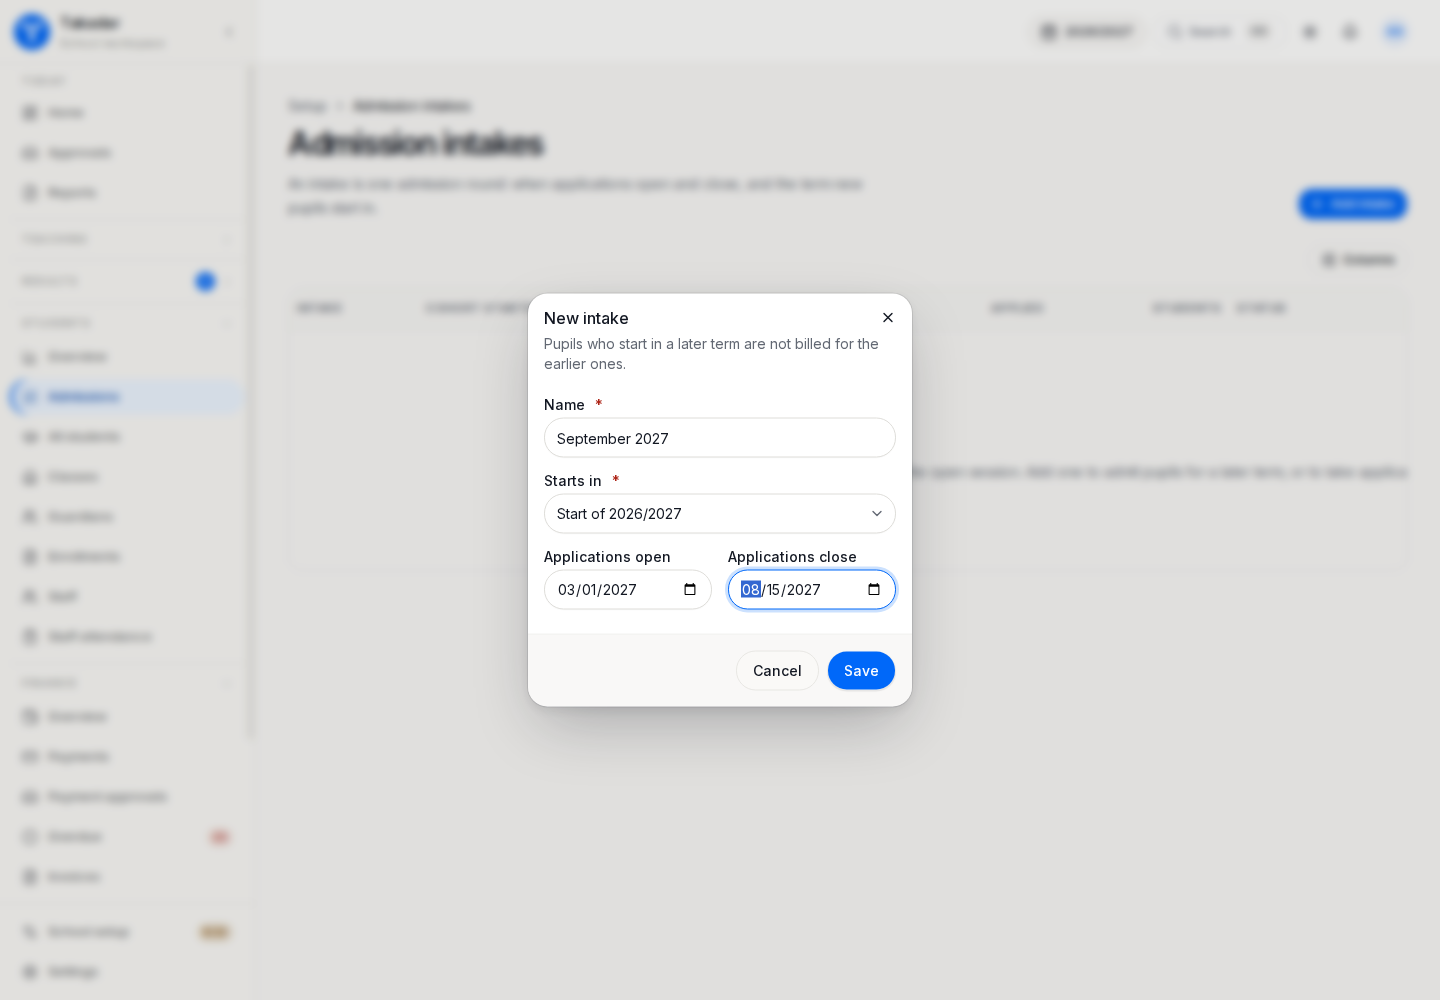
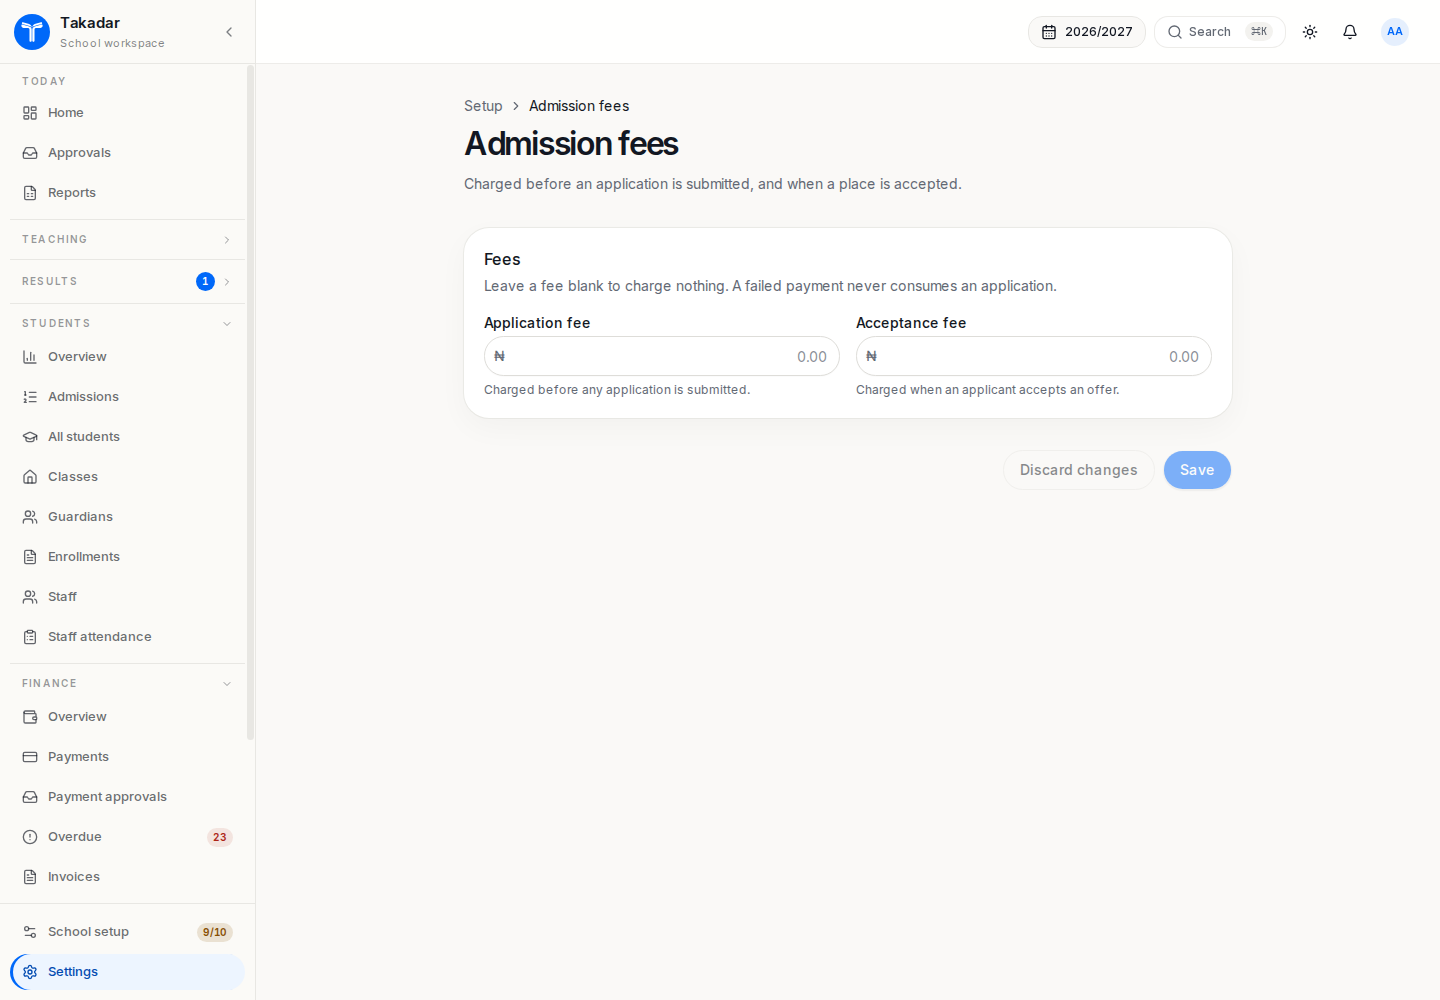
Configure admission charges
Review the application charge before publishing the intake. School application fees are separate from the student’s later tuition invoices.
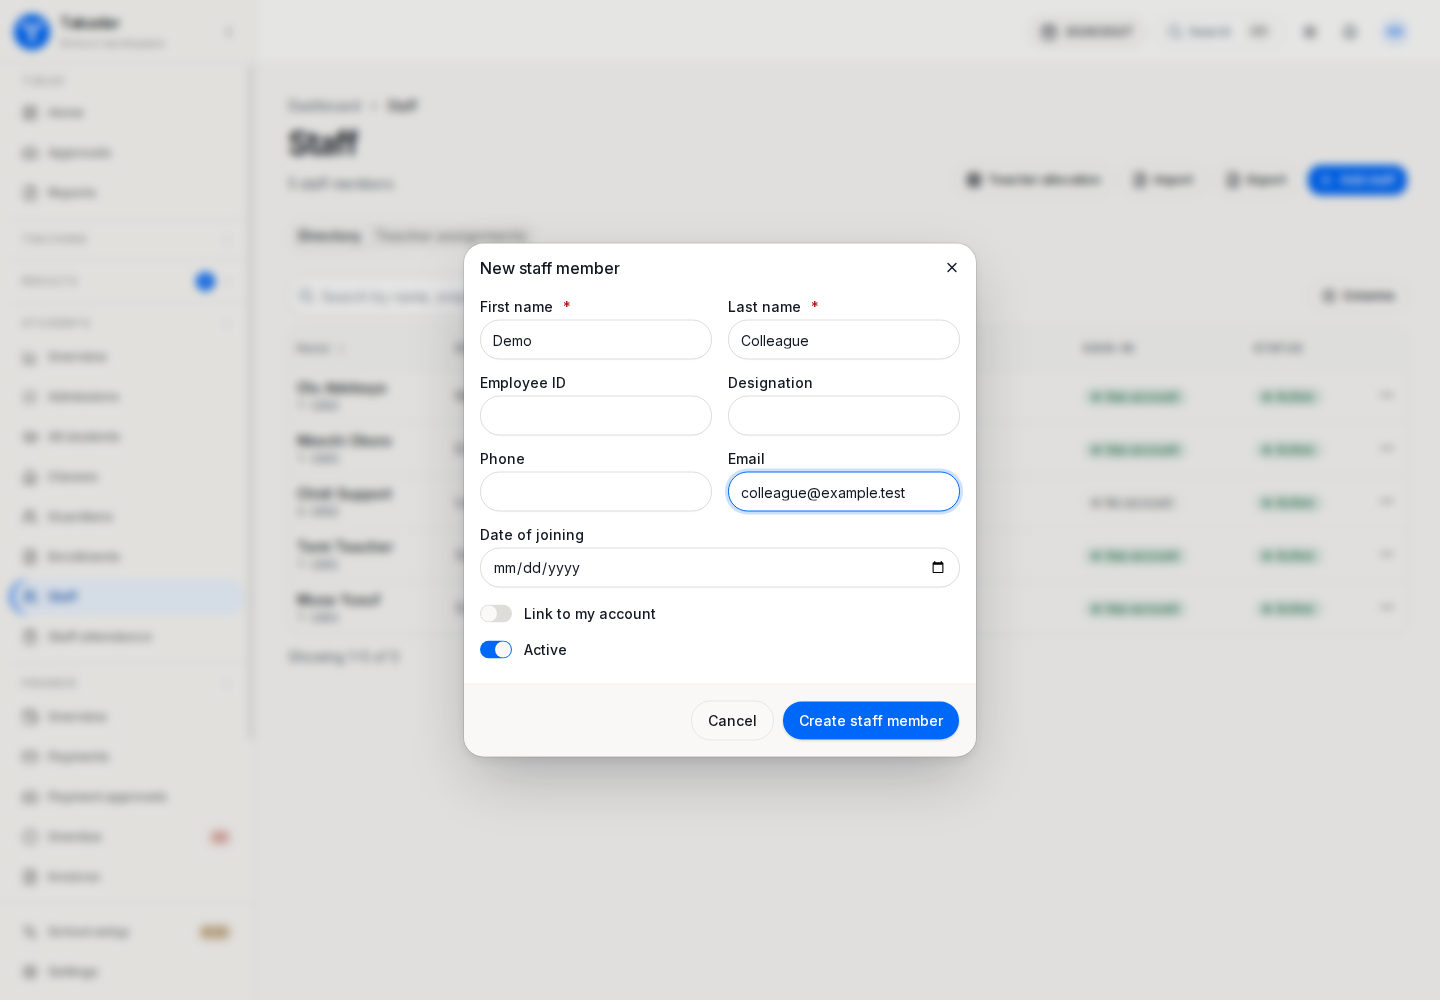
Onboard staff
Create or import staff records. Use the saved staff record’s Access area to assign appropriate roles and phase or subject scope, then invite staff and allocate teachers.
Onboard students
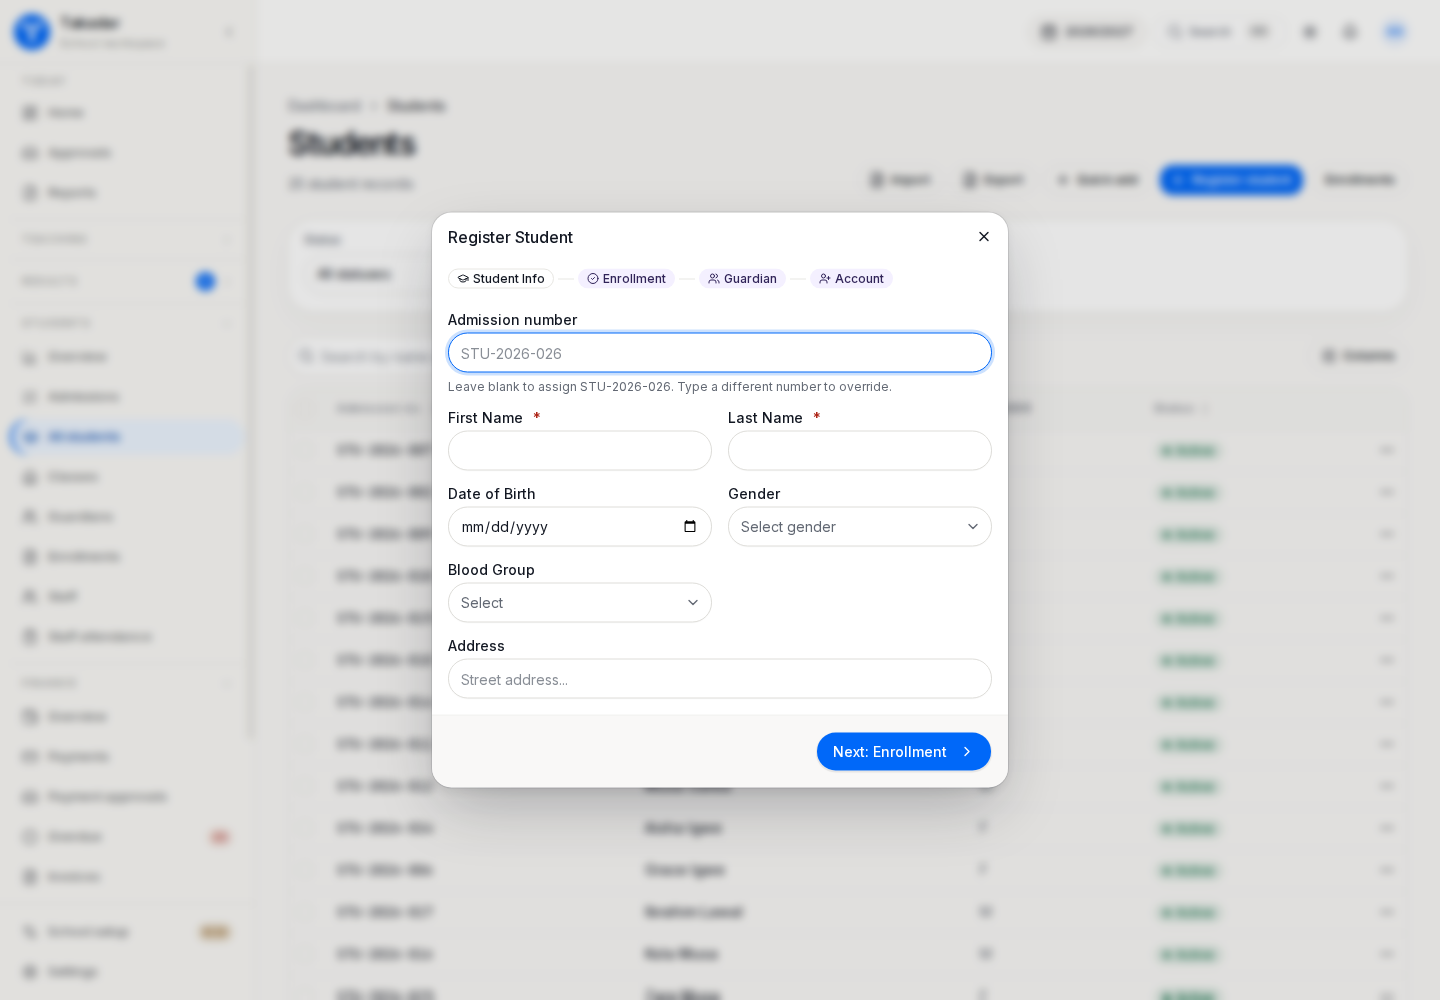
Register the student, link the correct guardian and create the session placement. Review existing records before importing so a returning student is not created twice.
Review saved placements
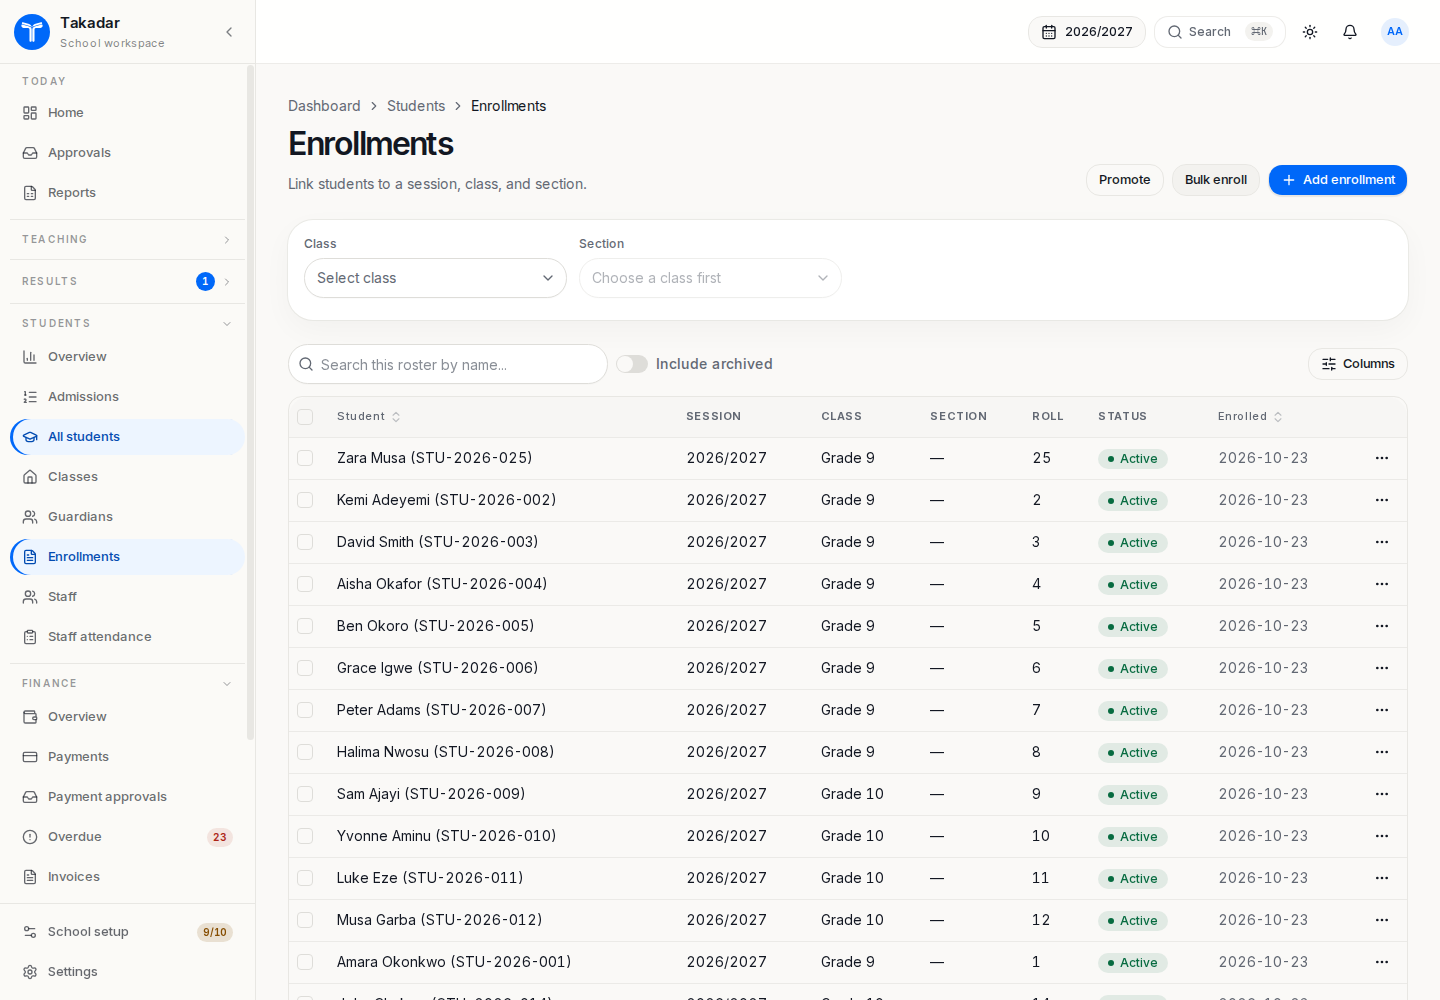
Verify class, section, working session and joining term. Confirm family links before opening portal access.
Confirm readiness with your team
Review assessment types, grade scales, the grading scheme and fee plans. Fee-plan activation bills matching students, so review targets and installments before activation. Check the payment method and payout arrangements before expecting online collection.
Run one representative path with permitted test records: find a student’s placement and offerings, inspect the bill, enter a sample assessment and check the portal. Readiness indicators do not replace this review.
Continue with academic structure, school admissions, student records and school results.