Set up your institution
A practical loading order for a new institution, from calendar to the first working day.
Choose your institution type
- K–12 school setup, with screenshots: classes, sections, subjects, teachers and family links.
- Higher education setup, with screenshots: faculties, departments, programmes, credits and registry workflows.
Each handbook has separate navigation: K–12 and higher education. Common guidance below applies to both.
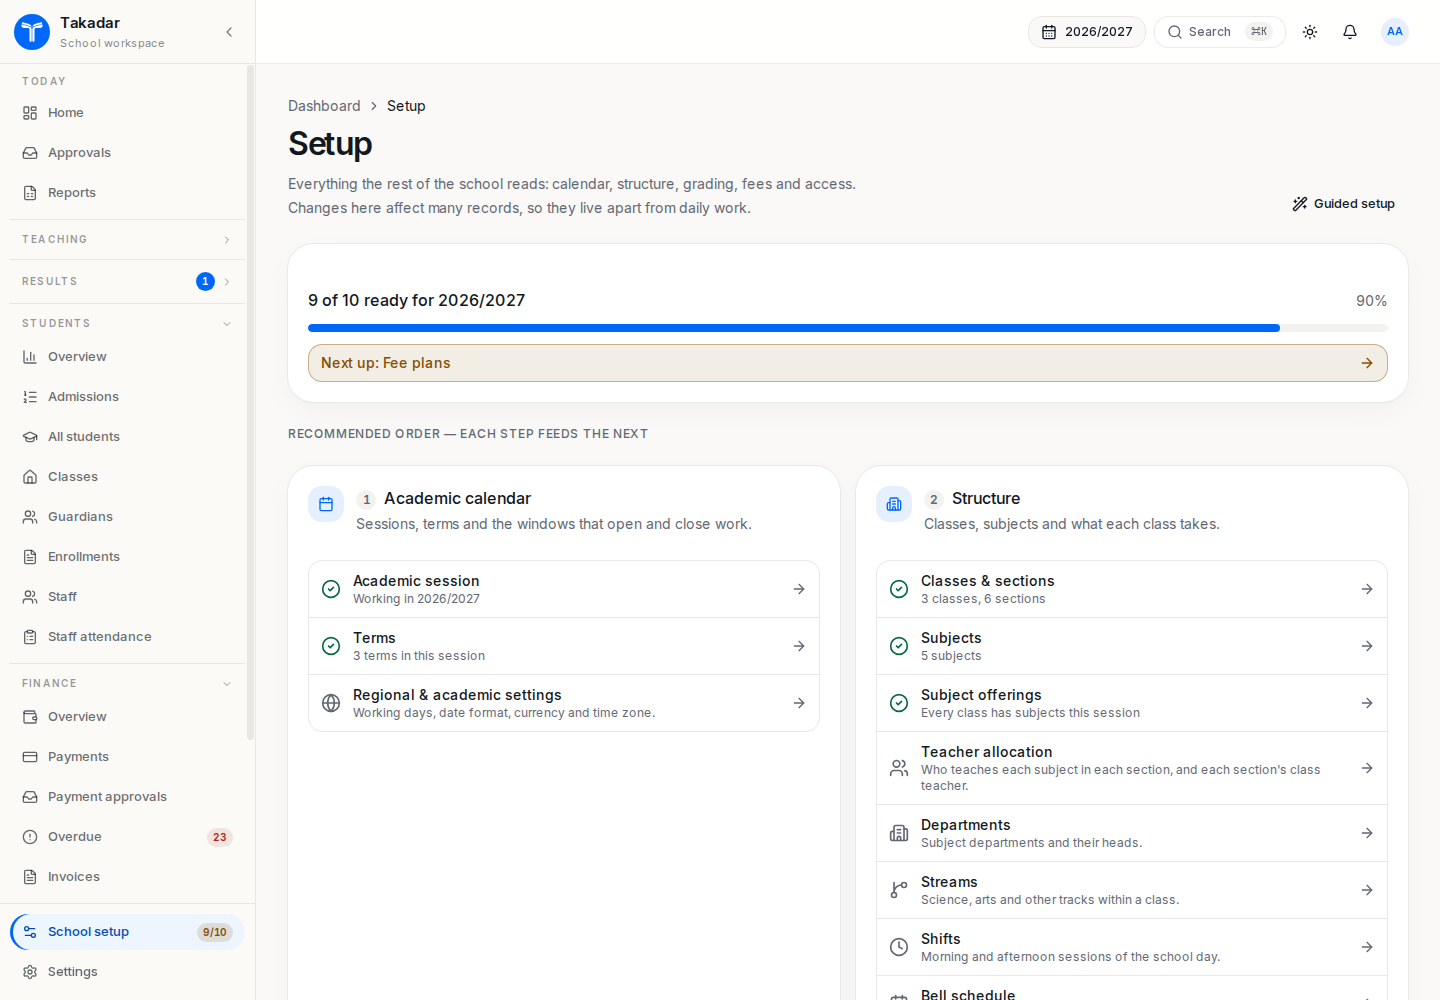
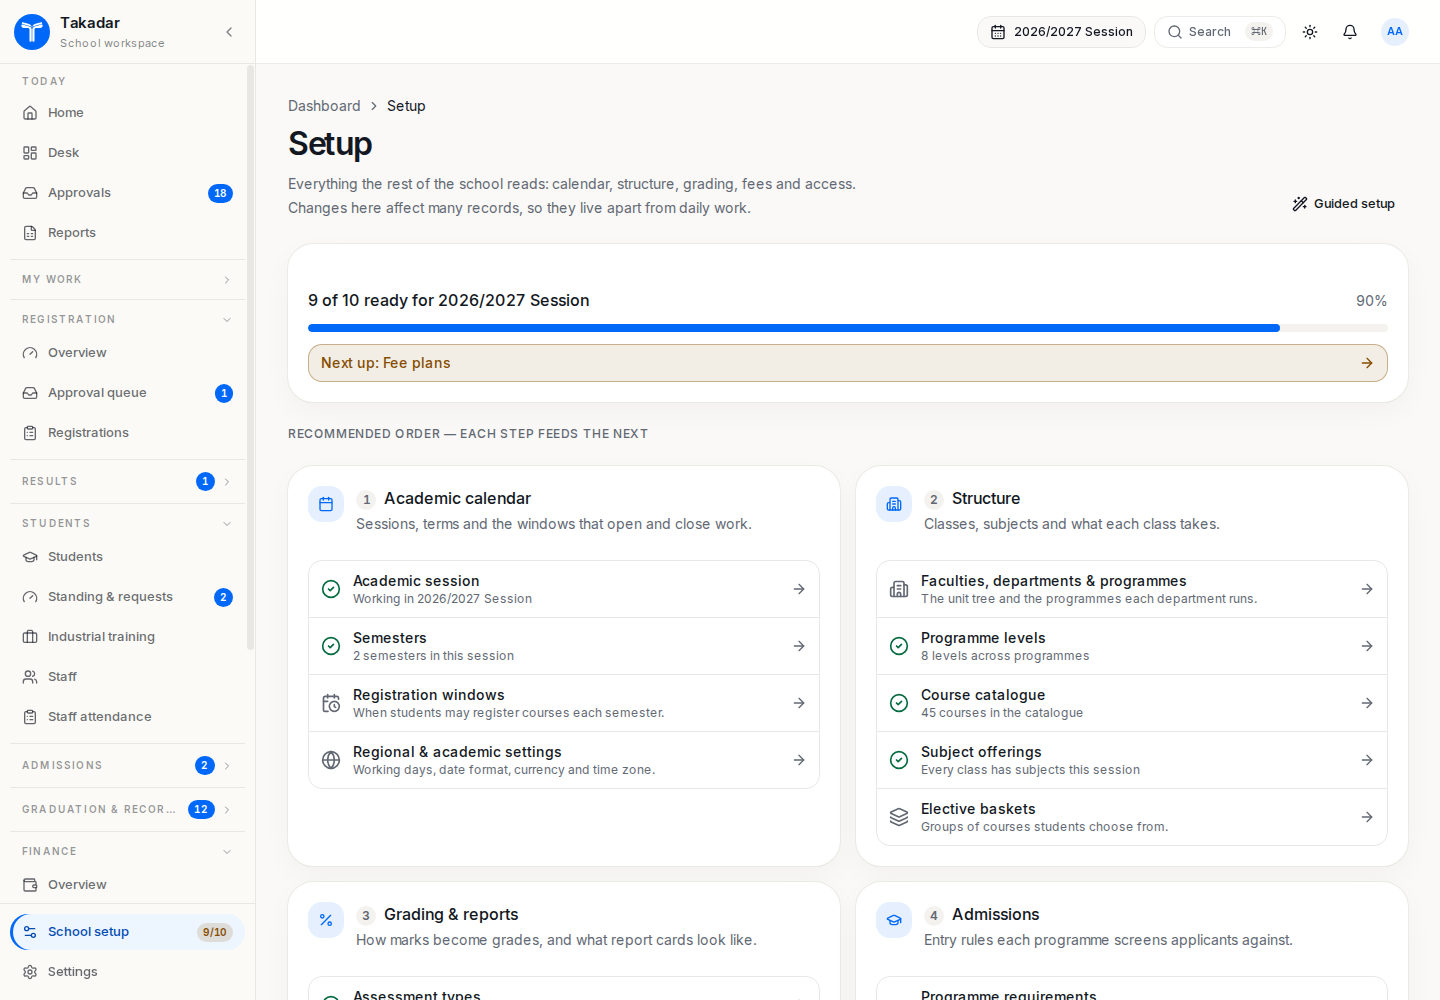
Use Setup (/setup) as the starting point. It separates configuration from the queues staff work through each day. Its readiness indicators show missing, incomplete and ready items for the working session; access to each destination follows your permissions.
Prepare in dependency order
- Confirm the institution profile and school details. Check the school name, branding, country and currency with the administrator.
- Create the academic session and its terms or semesters. Open the session for daily work and select it in the header.
- Define classes and sections, or faculties, departments, programmes and levels. Add subjects or courses and attach them to the appropriate session’s offerings.
- Load staff and students. Give each student a session placement and link guardians where needed. Allocate teachers or lecturers to their actual offerings.
- Configure assessment types, grade scales and the grading scheme. For higher education, also review registration windows, credit loads, prerequisites and programme rules.
- Define fee types and draft fee plans. Review targets and installments before activation, because activation bills matching students.
- Configure the available payment method and payout arrangements before expecting online collection. Invite the people who will use the system.
Confirm readiness
The checklist checks the calendar, classes, subjects, offerings, grading and fees. An informational item is not automatically a launch blocker; for example, the payout-account item is informational. Read the details rather than treating the readiness total as a complete acceptance test.
Test one representative path with your team: place a student, find the student’s subjects or courses, inspect the bill, enter a sample assessment and check the appropriate portal view. Use permitted test records and your institution’s own review process.
Bring existing records
Use the shared spreadsheet importer for current data. Use past-record imports for closed sessions. Keep opening debt separate from old payment history. Before opening access to families, confirm guardian links and the result-release rules.
Compare the readiness screens
Choose the handbook matching your institution. These are synthetic demonstration records; each detailed setup guide explains its own sequence.